We'll show you how to send an email via the Gmail API from your Arduino. Then imagine all the notes you can have it send—reminders, alerts, sweet nothings, etc.
This sketch uses our Google > Gmail > SendEmail Choreo.
1Make sure you have a Temboo account. If you don't already have one, you can register for free.
2Make sure that you have the latest version of the Arduino IDE. You should also check that you have the newest version of the Temboo Library by checking the Arduino Library Manager
3We recommend creating a new Gmail account for sending email programmatically - you can do that here. After you've created your new account, you can skip to step 11.
If you'd like to use an existing Gmail account, you'll need to enable 2-Step Verification and generate an App Password for Temboo. Steps 4 - 10 show you how to do that.
4Sign in to your Google Account settings page by clicking on your name or picture in the upper right corner of the screen and then clicking Account.
5Scroll down to the "Signing in" box.
6Click 2-Step Verification. This will bring you to the 2-Step Verification settings page.
7You will then see a step-by-step guide which will guide you through the setup process.
8After you've enabled 2-Step Verification, you'll be prompted to create an App Password.
9In the Select app dropdown menu, choose "Other", and give this app a name (e.g., TembooApp).
10Click "Generate". You'll be given a 16-digit passcode that can be used to access your Google Account from Temboo.
Note: If you wish to authenticate with OAuth credentials, you should use the Google > Gmailv2 Choreos.
11Go to the Google > Gmail > SendEmail Choreo in our Library.
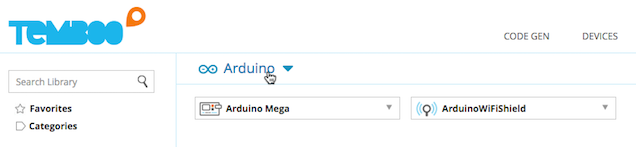
12Select Arduino from the drop down menu at the top of the Choreo page, then choose your Arduino device. Be sure to provide details about how your Arduino should connect to the Internet.
13Click Generate Code to test out the Choreo from our website and confirm that you can send emails to yourself.
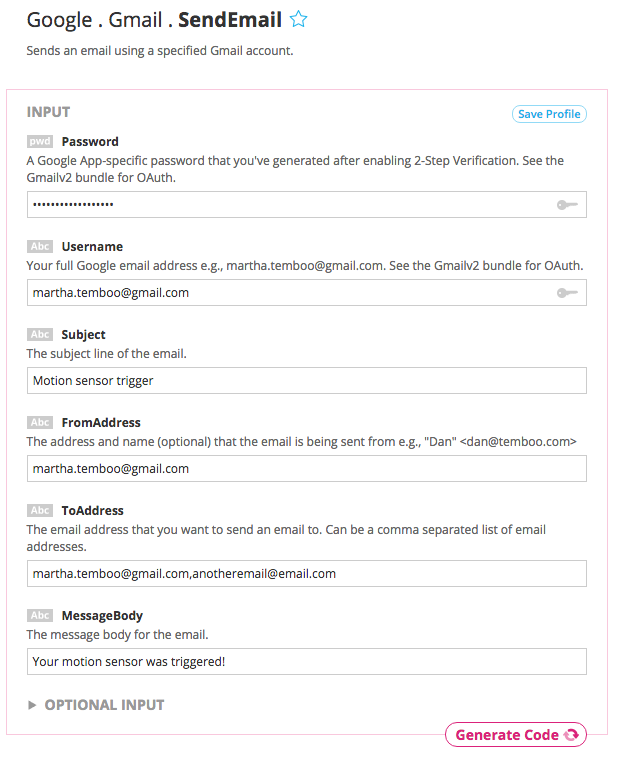
Testing the SendEmail Choreo from our website
14When you've confirmed that the Choreo runs successfully, you can copy the auto-generated Arduino code from the Code section and paste it into your Arduino IDE.
15The auto-generated sketch references the TembooAccount.h header file, which contains your Temboo account information and internet shield details. You'll find the code for this file beneath your generated sketch. Create a new tab in the Arduino IDE called TembooAccount.h and copy in the header file information.
16With both files in place you are ready to upload the sketch and start sending emails from your Arduino. You've got mail!
Now that your Arduino is sending emails, why not check out the other 2000+ Choreos in our Library and start thinking about all the possibilities for your next Arduino project.
We're always happy to help. Just email us at support@temboo.com, and we'll answer your questions.